The Old becomes the New
Needing to do a renovation but on a tight budget? Looking to simply replace an old, dated light fixture? Perhaps what is already hanging in the room can be given a chance on a second life. As we had just moved into an older home we had two of these 1970's chandeliers in our main living room/dining room. They where an interesting mix of an aged brass finish, naturally finished wood and frosted chimney glass shades with a vine/grape pattern. Very fitting in 2017. We had begun a renovation of our living room and these were in dire need of an update. Both chandeliers where missing one of the glass shades and replacement pieces cost more than what the fixture was worth. So let's see what would happen if we fixed these up a bit before spending the money on new fixtures. Note: My wife thought I was nuts for even attempting to fix up these old fixtures. She was more than willing to introduce them to our trash can;)

Most chandeliers, and light fixtures in general, can be dismantled down into easier sections to work with to some degree. In doing so you can repaint the entire fixture and give it a brand new look. I started by dismantling each fixture as much as possible (take pictures along the way so you can reassemble the fixture EXACTLY the same) and discarded any pieces I didn't want to retain. I discarded the little wooded bulbs from the bottom and the glass shades.
There will be electrical wiring running to each light base. Be careful not to damage or disconnect any of the connections. For example, I was able to remove all of the wood sections and the metal covers. I then gave a light sanding with 220 grit sand paper to the entire lamp making sure to get into all the little crevasse. The wood sections I started with 150 grit then finished with 220 grit. You will want to remove the sheen from the surface so the paint will adhere properly. Lastly each piece that was to be painted was given a quick wipe with rubbing alcohol on a rage to remove any oils and dust that may effect the paint adhering. Oh, and don't for get about the chain! Tape of any areas you don't want painted. You don't want paint inside of the light bulb sockets for example.


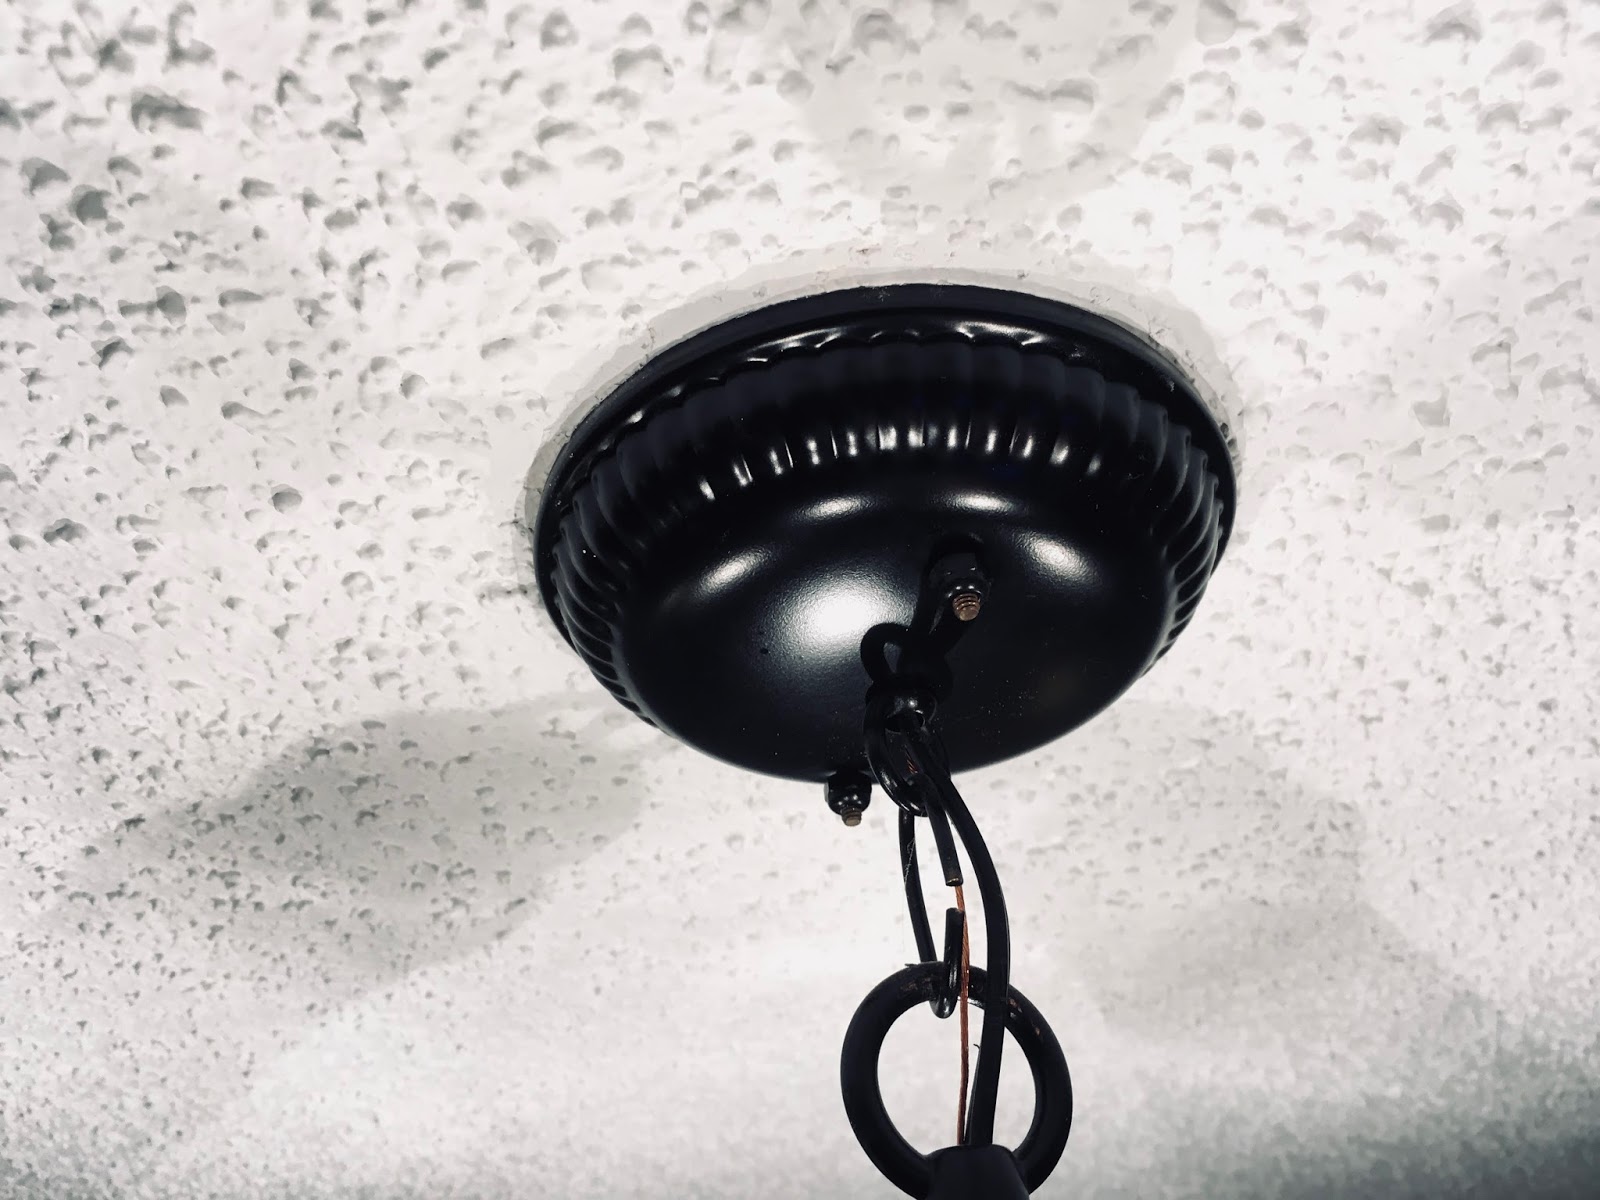

In a well-ventilated area, paint each part of the light fixture with a high quality spray paint. I used glossy black Tremclad spray paint. In order to get a nice smooth finish make several light coats to slowly build up the coverage. Follow the paint can manufactures recommendations for drying and re-coating times. I applied four coats in total to get a nice uniform finish.
I must say, it certainly is an updated look to these old fixtures. They clearly still have a hint of the 70's lingering under neither the surface but it was an interesting little project that turned out very nicely. Have you had any successful little projects rejuvenating similar light fixtures?
Questions or comments below.
Questions or comments below.
Any questions don't hesitate to ask. Join us on Facebook @ facebook.com/groups/stridelighting/ to join in on more helpful information, support and discussion on home lighting.
Visit us at www.stridelighting.com.


Comments
Post a Comment